Meet the Teacher is equal parts excitement and chaos, but it can be the best event of the year with a little planning and organization. Keep reading to learn how to organize Meet the Teacher.
Each year, I get so excited to meet my new students, and as usual, I am super nervous! I mean, I’ve spent all summer thinking about my new kiddos – what are their names? What are their interests? personalities? and uhh, how many of them are there??? Haha!
I love meeting my students and their families, but at the same time, there’s only ONE of me, and so many people to meet! Plus, there’s about a million things to try to get accomplished, and ya’ll…parents are short on time!
It’s hard to remember, and keep track of everything! Fortunately, a few years ago, I started using STATIONS for Meet the Teacher, and it was a HIT (with parents AND with me!).
What is Meet the Teacher?
For the purpose of this blog post, “Meet the Teacher” means the time (usually a few days before school starts) when families are able to come to school to meet the teacher, and see the classroom. Families will often drop off school supplies, and fill out information.
The idea of using stations came from a need to make “Meet the Teacher” easier on families and teachers.
What are Meet the Teacher stations?
Stations (think of these like centers, almost) are set up and spread out around the classroom. Each station has a different “task.”
Why have stations?
Before I used stations, there was inevitably a line of parents and students and no one really knew what to do (including me, HA!). It was awkward, and there wasn’t enough of me to go around and answer questions.
Stations provided the perfect solution.
Basically, parents can move at their own pace through the stations. In addition, they’re spread out around the room, so there are no clumps or lines of people just waiting for a pen to become available.
Bonus? Parents LOVE how organized everything is. Each year, I get countless compliments from parents who share how impressed they were at the organization, and efficiency of the evening. There’s nothing quite as important as making a good GREAT FIRST IMPRESSION!
How does it work?
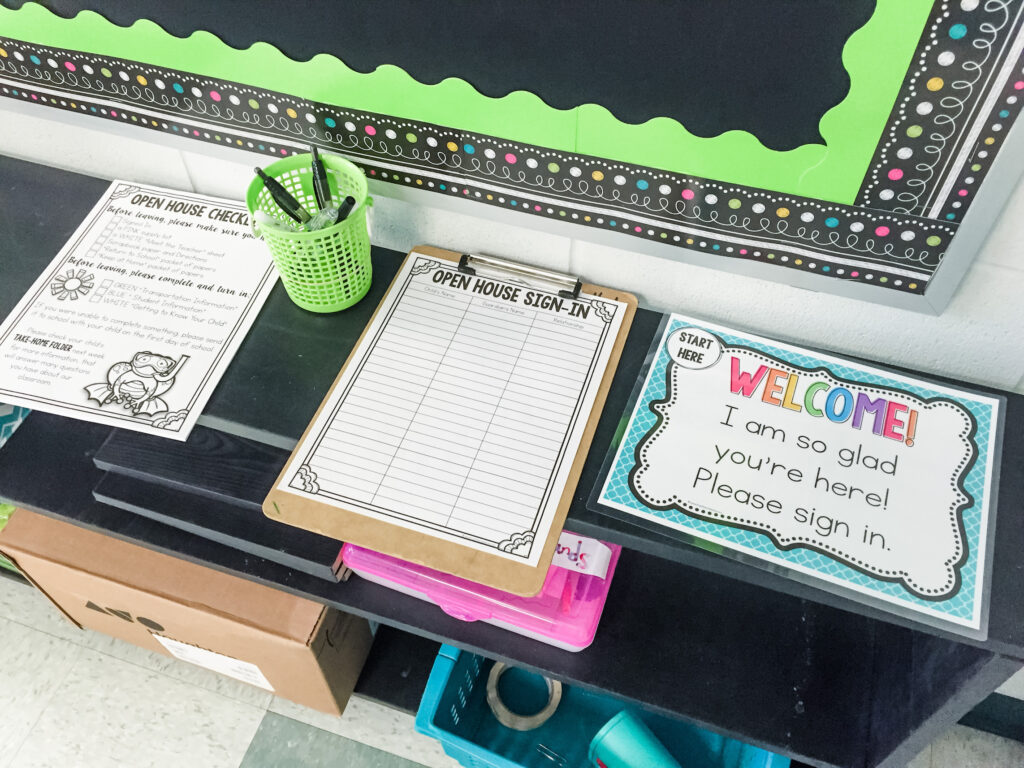
I start with a checklist, because, seriously, who doesn’t love a checklist? My lists have lists.
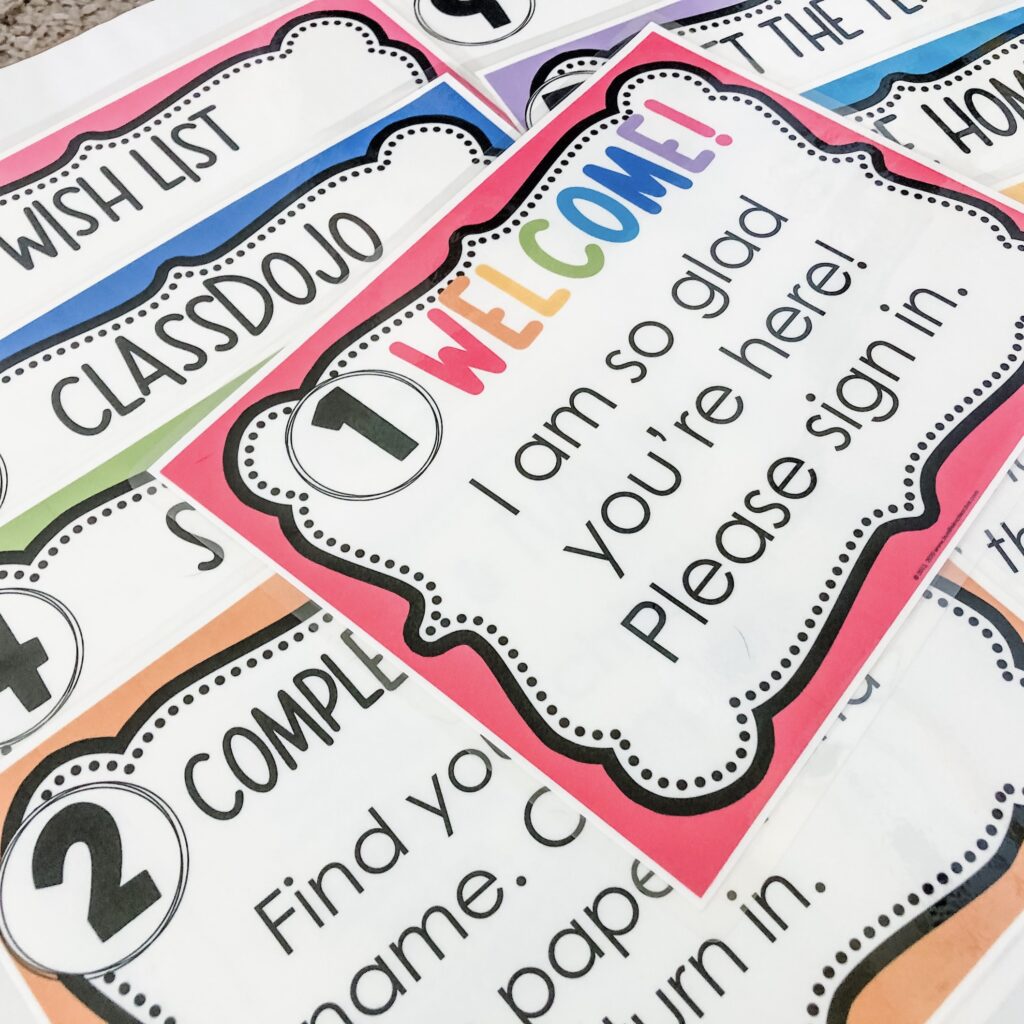
Next, parents just follow the yellow brick road. Just kidding. They follow the station signs, which are numbered. Easy.
Organizing Stations for Meet the Teacher
Step 1: Decide how you want to set up/organize Meet the Teacher. (I share my exact setup below.)
- Option 1: Every paper parents need is its own station.
- Option 2: Put like groups of information together. For example, all “take home” papers at one station. You may want to paperclip a set for each family. I like to write students’ names on the top paper. It makes it so much easier to know who didn’t get their papers.
- Option 3: Sort of a combo of option 1 and option 2.
Step 2: Decide what information parents need, what information you need, and then how many stations you’ll have. The less the better. The more organized the better. I’ve never had more than 10 stations, and in recent years, I’ve tried to reduce that number even more.
Step 3: Edit and customize each station as needed.
Step 4: Print. Copy. Laminate (if desired).

How I Organize Meet the Teacher
Below is exactly how I organize meet the teacher. Depending on your school, and the needs of your classroom, this exact set up may need to be edited or revised.
Fortunately, I’ve got all the editable forms and stations you need.
I stand at the door the to greet families and students as they enter. I hand them a checklist, and explain that I know they’re super busy and trying to get ready for the first day of school, and my goal is to make this as easy and quick as possible. Typically, they’ll only need to spend about 5-10 minutes in my classroom.
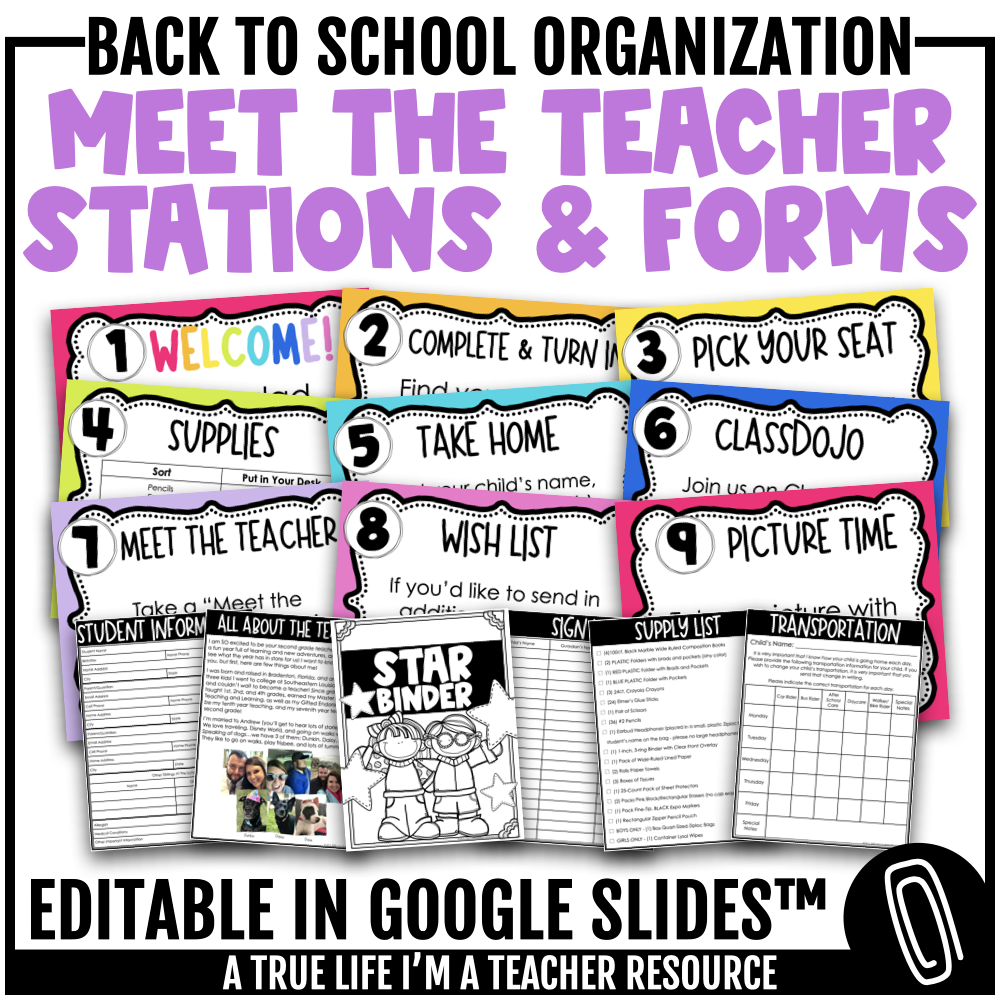
Station 1: Sign in
- If parents haven’t already gotten a checklist, they’ll pick one up here as well.
Station 2: Complete and Turn in
- Any papers that cannot wait until after school starts. Often, this changes from year to year depending on what the office requires. In recent years, I have only had them sign our school’s technology agreement and picture release form.
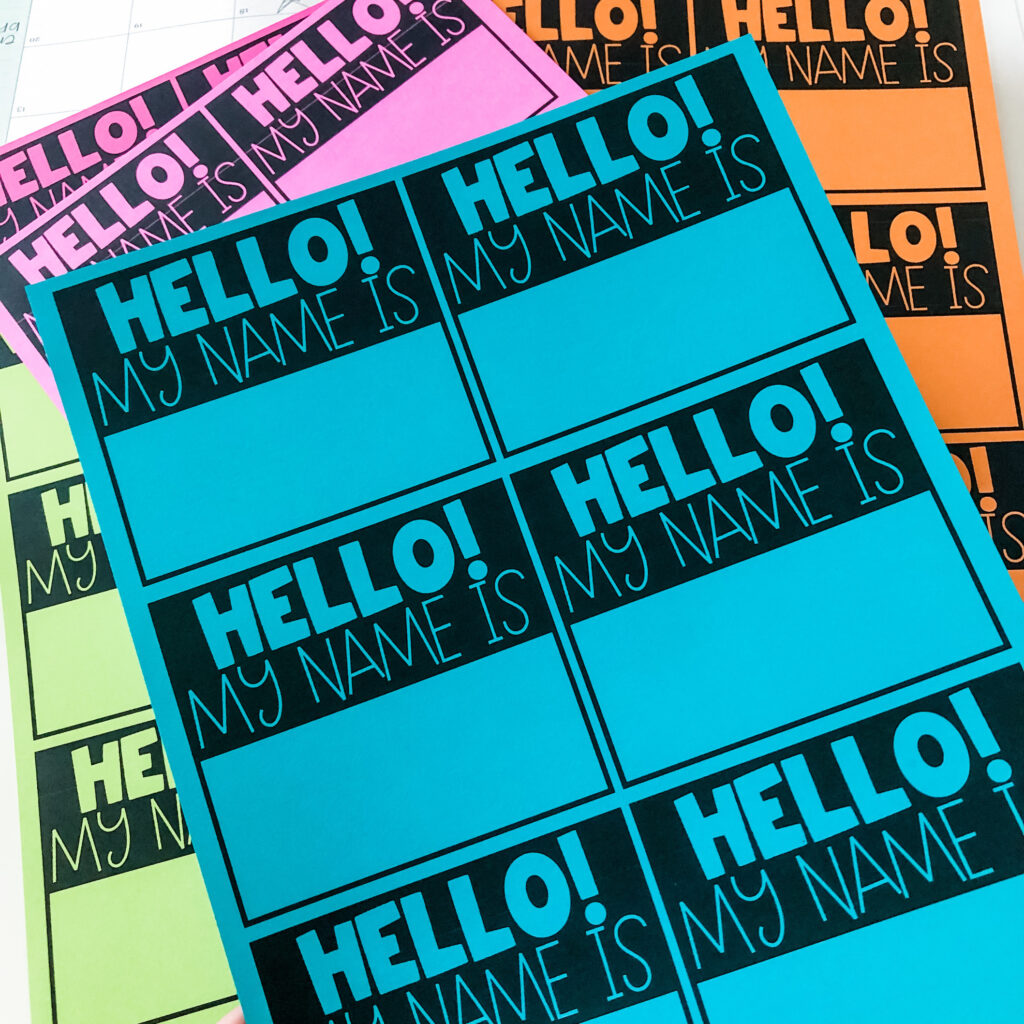
Station 3: Pick Your Seat
- I have each student’s name on a piece of card stock. Students get to place their name tag on whatever desk they’d like (no they don’t stay there forever – just the first couple of days).
- I use the “Hello My Name is…” printable from my First Week of School Activities product.
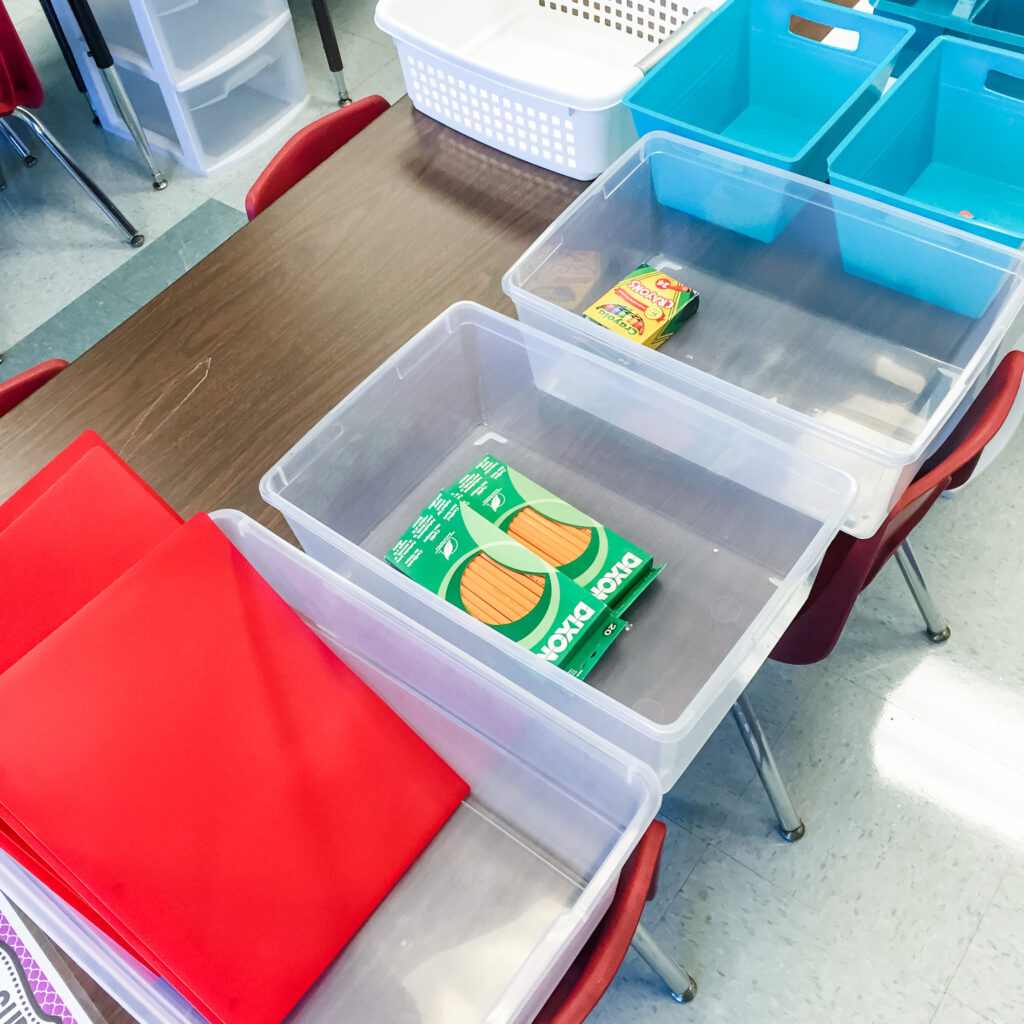
Station 4: Supplies
- I offer supply lists, if parents don’t already have one.
- On the station page, I tell students what supplies need to go inside their desks, and what supplies need to be sorted into labeled bins and baskets I provide.
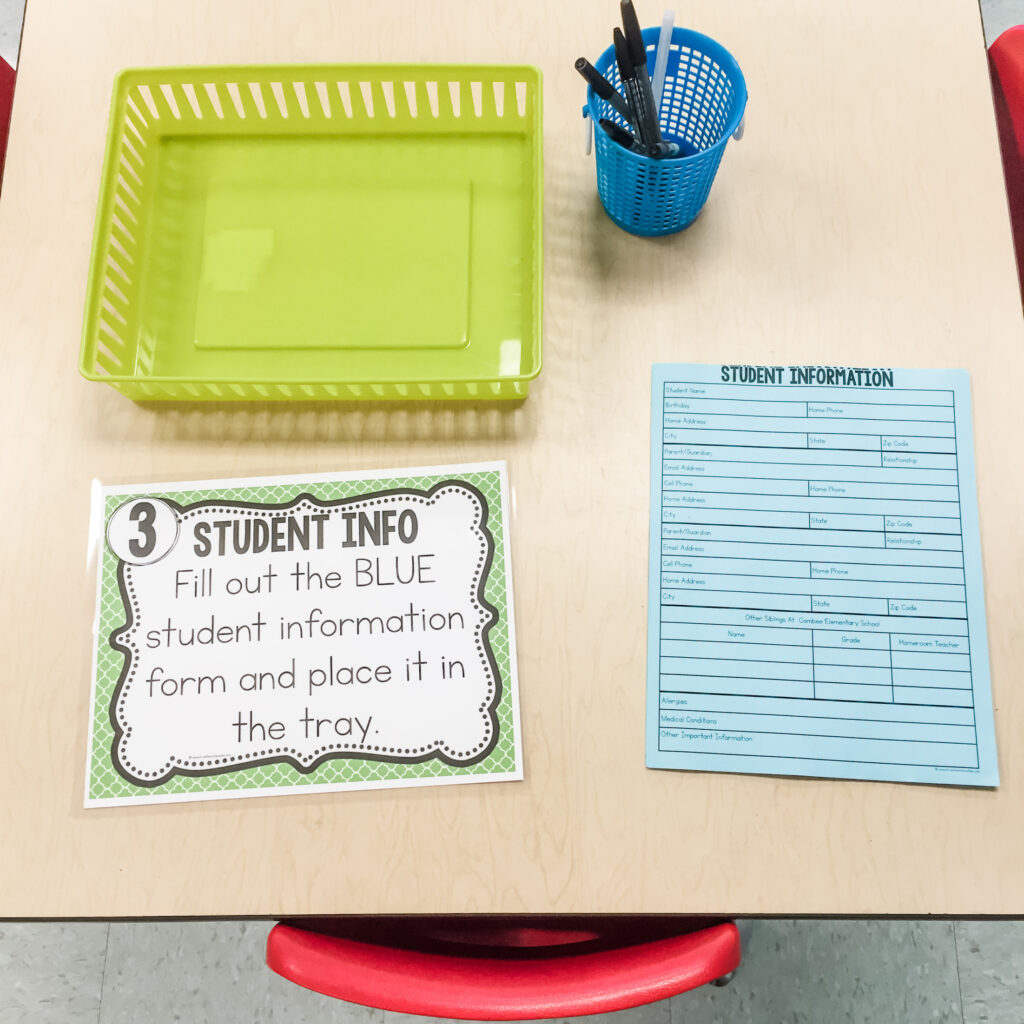
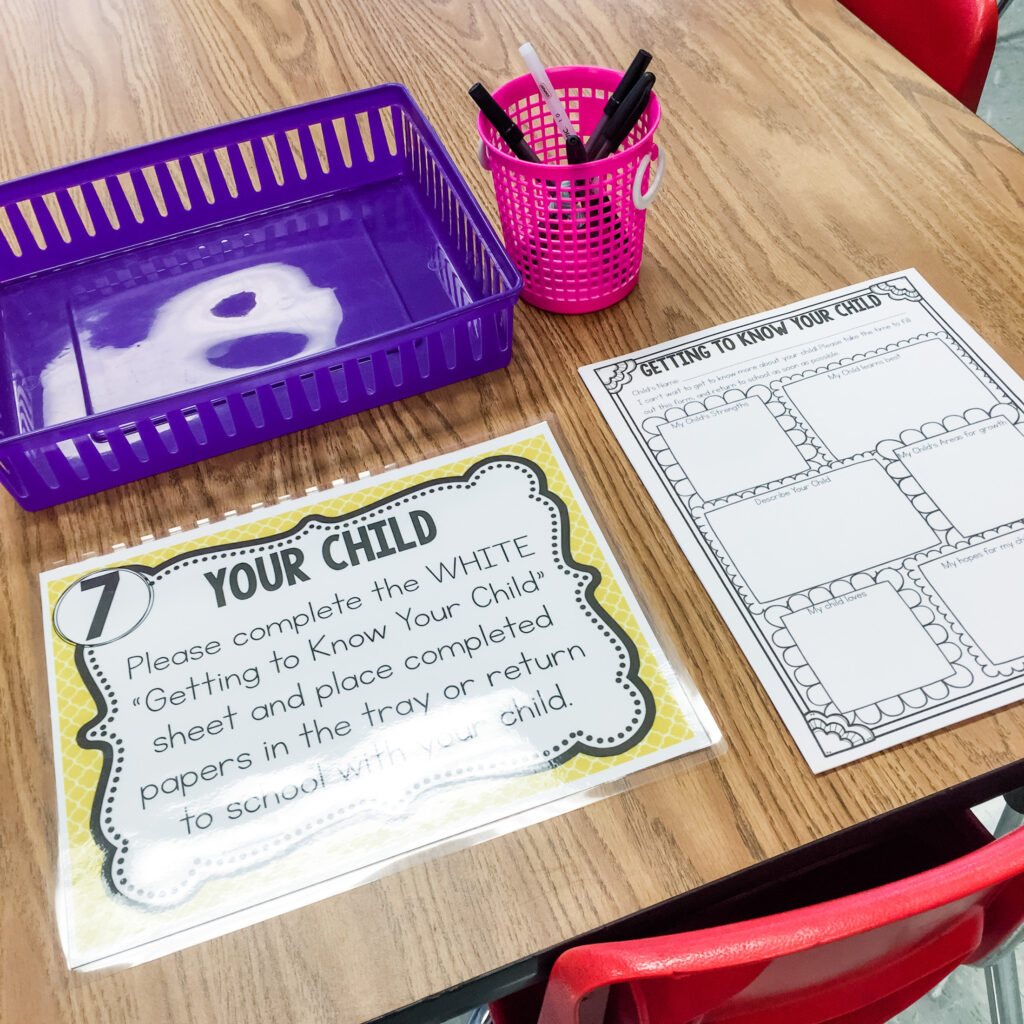
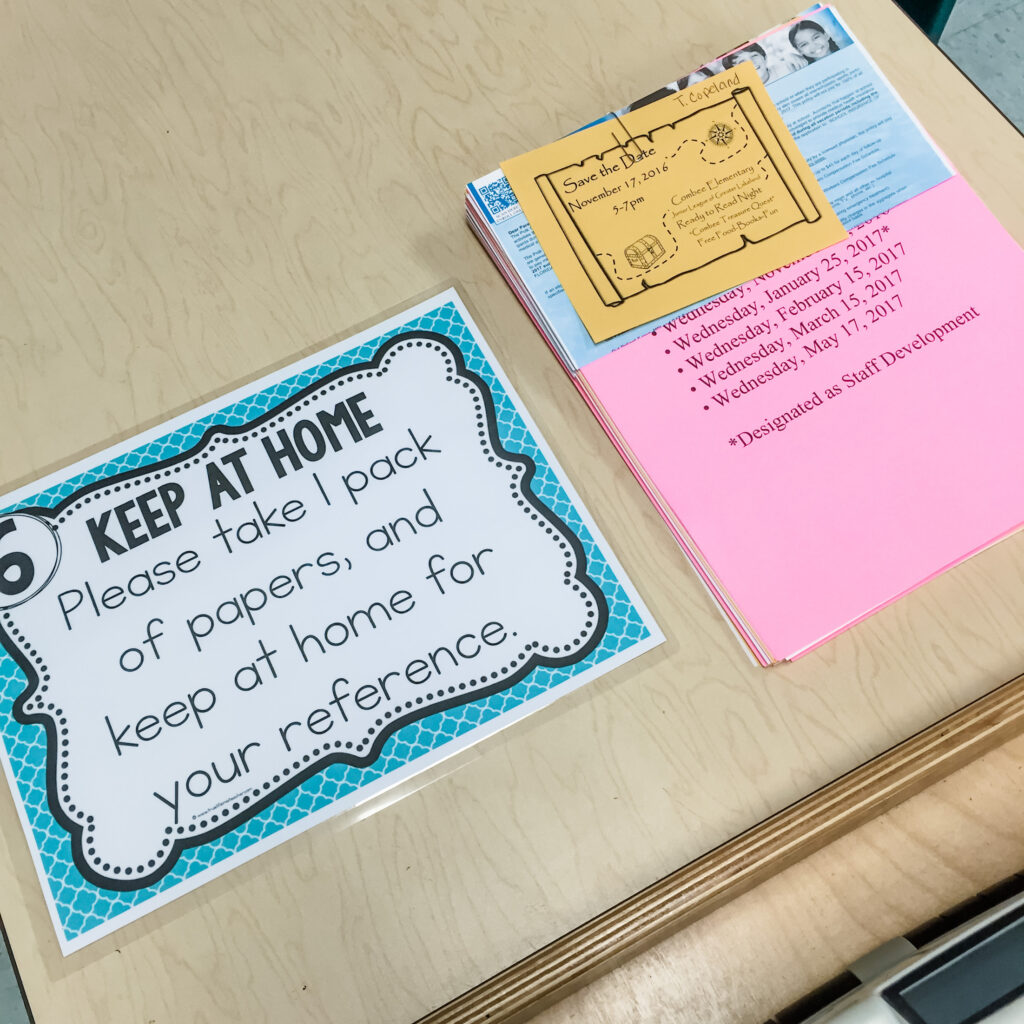
Station 5: Take Home & Fill Out at Home
- All papers that can be filled out at home. This includes “student information” and “tell me about your child.”
Station 6: ClassDojo
- Parents get the ClassDojo invitation that I print from ClassDojo’s website.
Station 7: Meet the Teacher
- Families get an “All About the Teacher” paper that gives a little bit of information about my education, teaching experience, and family life.
Station 8: Wish List
- I provide a list of wish list items. These are things that don’t make the cut on the supply list, but are really nice to have donated when possible.
- In the past, I have had all of the wish list items on one paper, and families who want one, can take one. Recently though, I’ve been using sticky notes or small pieces of card stock and written one item on each. Parents can then grab what they want to donate.
Station 9: Picture Time
- This gets families back to the door. They can either take a picture with me, take a picture in front of our hallway bulletin board, or both.

Interested in ALL the stations and forms I use? You can find the entire product, here, in my TpT store!
You Might Also Like:
- The First Day of School
- Launching Reading Workshop
- Super Improver Sticker Challenge
- Positive Classroom Management
Let’s connect!
Instagram // Pinterest // Facebook // Teachers Pay Teachers