Having student work displayed is a HUGE piece of my classroom decor, and classroom community. But figuring out where and how to display student work, and changing out work samples can be tricky.
Throughout this post, you’ll find Amazon Affiliate links. This means I receive a small commission if you purchase something through that link, at no extra cost to you, that helps keep my blog running and helps fund giveaways!
Why is displaying student work important?
Displaying student work is important for our classroom community, for visitors to our classroom, and sends a message to students that their work and voice is important.
Finding a Place to Display Student Work
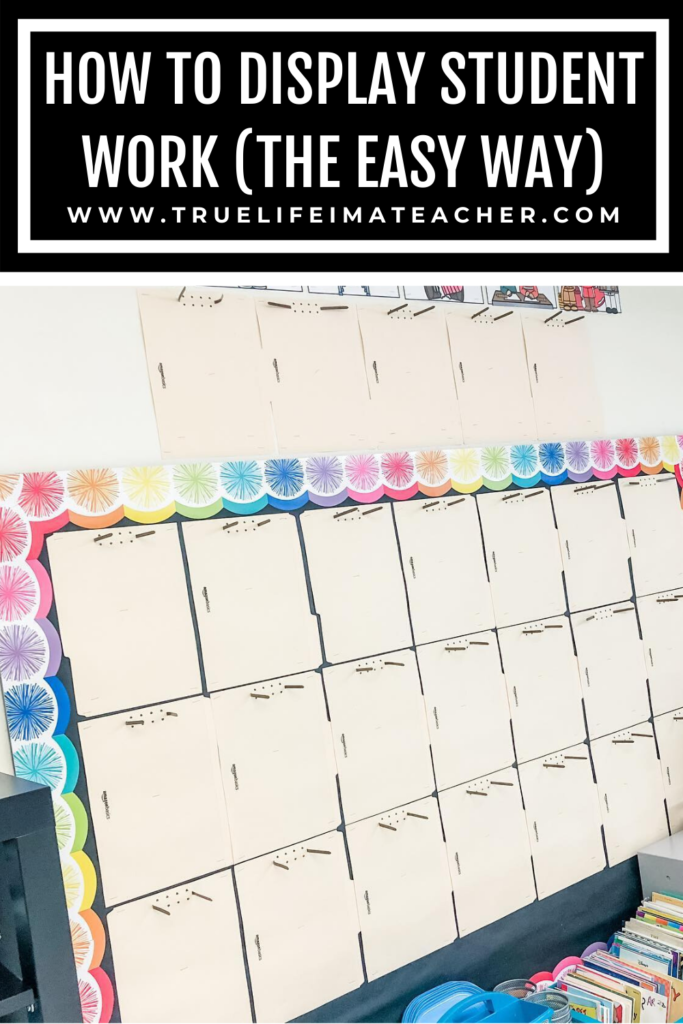
Sometimes, finding a spot for student work is tricky. In my current classroom I have very little wall space – one wall is carpeted (don’t even get me started), one wall has built in cubbies, another wall has a white board and Smartboard, which only leaves me with one small wall that has some very randomly placed bulletin boards.
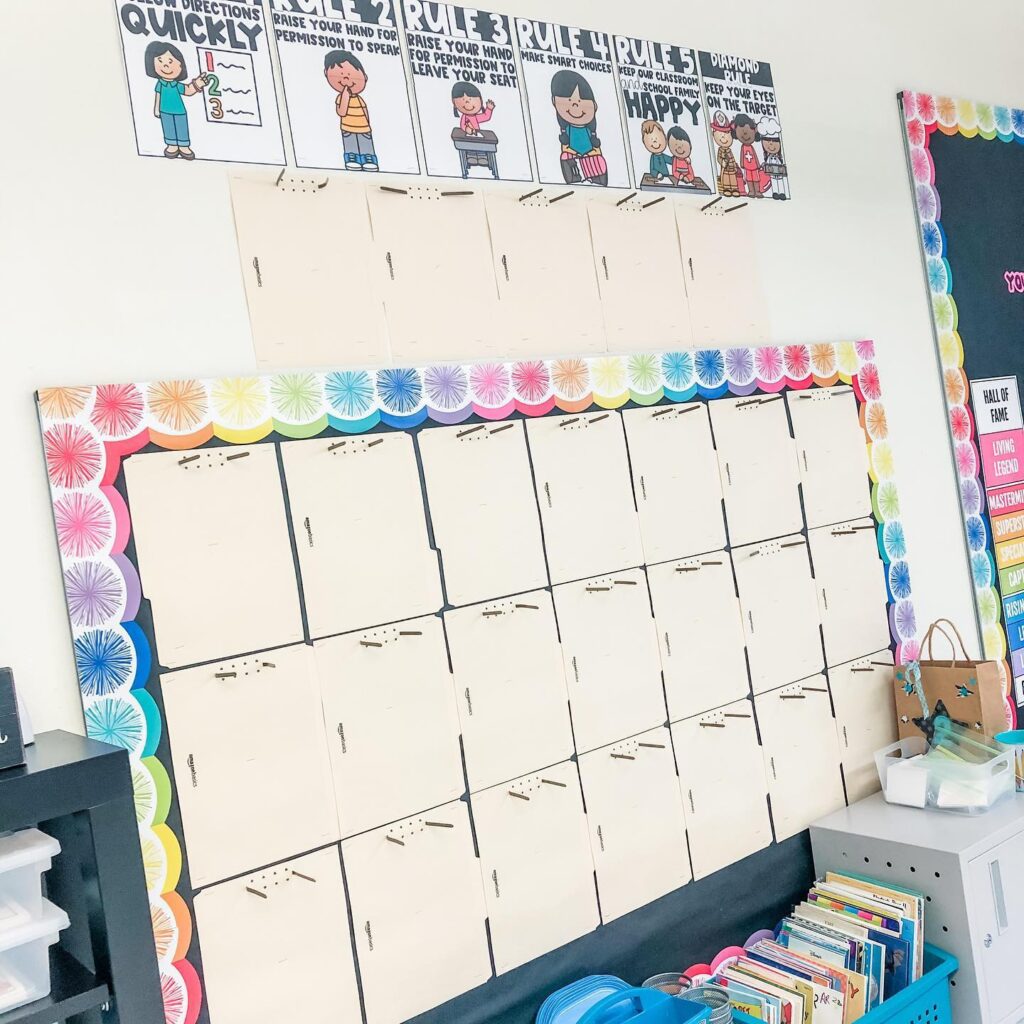
I decided that with one of those random bulletin boards, I would create the space where student work would be displayed. It’s easily accessible, which means I’ll be able to change out work easily, which is important.
No matter what your wall situation or bulletin board situation, this is the easiest way I’ve found to display student work.
Supplies Needed
How to Display Student Work
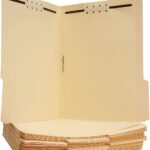
- Cut the 2-prong folders in half
- Staple to your bulletin board (and in my case also to the wall).
- I’ve used hot glue on cement walls and it works too
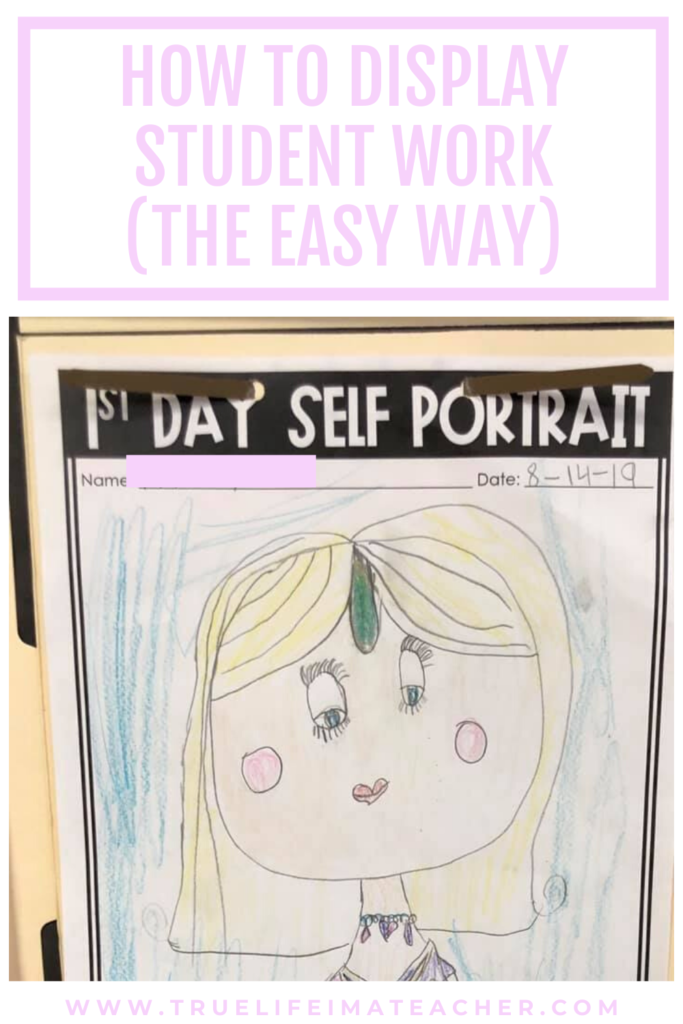
- Add student artwork throughout the year.
- Then, at the end of the year, take it off, and send it home.
- Optional: You COULD send home the file folders too, I choose to keep them up and reuse them year after year. BONUS: By reusing them, I spend ZERO time setting this up at the beginning of the year.
Tips, Tricks, and Notes:
- If you’ve got a large space to display work, you could not cut the file folders in half. One side could be for artwork, while the other could be used for writing.
- Almost all of my students’ work is on standard paper and/or card stock (8.5 x 11). However, if your students do lots of projects on construction paper, you might prefer the legal size file folders found here.
- No bulletin boards? No problem. I’ve used hot glue to make these stick to cement walls. (No, I’m not supposed to use hot glue. Yes, I use it anyway.)

You Might Also Like:
- How to Organize Meet the Teacher
- Positive Classroom Management
- How to Use a Pacing Guide
- Launching Reading Workshop
Let’s connect!
Instagram // Pinterest // Facebook // Teachers Pay Teachers