No matter what grade I’ve taught, or how many years I’ve taught, organizing a classroom library is a topic that comes up A LOT.
Our classroom library is really the heart of our classroom. It takes up a big chunk of space, and we gather near it everyday for morning meeting, mini-lessons, and read alouds.
Throughout this post, you’ll find Amazon Affiliate links. This means I receive a small commission if you purchase something through that link, at no extra cost to you, that helps keep my blog running and helps fund giveaways!
Important Notes
- I have LOTS of books. My principal jokes that if something ever happened to our school library, we’d be just fine because we have mine.
- Yes, the books have been mostly purchased with my own money.
- No, I didn’t start teaching with a ton of books.
- Don’t think you need to buy a billion books when you first start teaching, especially full price books. Instead,
- Go to garage sales (all tell people you’re a teacher — most people tend to give a good deal when you plead your case)
- Ask family members to keep their eyes open for garage sales, or in online community groups
- Search your area for “Friends of the Library” book sales
- Ask parents/friends/family members for gently used books
- Use Scholastic Book Clubs
- Give students 5-10 minutes to look through the flyers in class and make a wish list
- Even if only 1 family orders, the points add up
Organizing a Classroom Library
- should fit the needs of the students and the teacher
- takes time (and maybe some money)
- requires patience and flexibility
- can evolve over time
What I’ve Tried Over the Past 9 Years:
- leveled (AR and guided reading)
- genres/authors
- random, hot mess
I personally didn’t like having my books leveled by AR level. In fact, that’s what I was trying to do my very first year teaching, but it was actually a random, hot mess.
My students couldn’t find anything, and neither could I. I wasn’t able to direct them toward books they might enjoy, or books to help them grow as a reader.
I finally felt comfortable with my classroom library somewhere during my third year teaching. It was small, it was simple, but it worked.
I’ve used that same idea for organizing a classroom library ever since.


Step 1: Sort Your Books
- Obviously, you have to decide how to sort your books first. But after that, it’s a big sorting party.
- My recommendation:
- Start with fiction/non-fiction
- Fiction
- Use levels (I like Fountas & Pinnell)
- Topics
- Series
- Authors
- Non-Fiction
- Topics
- Themes
Step 2: Decide on Your Categories
- Fiction books tend to sort themselves, especially if you’re going by series and/or levels
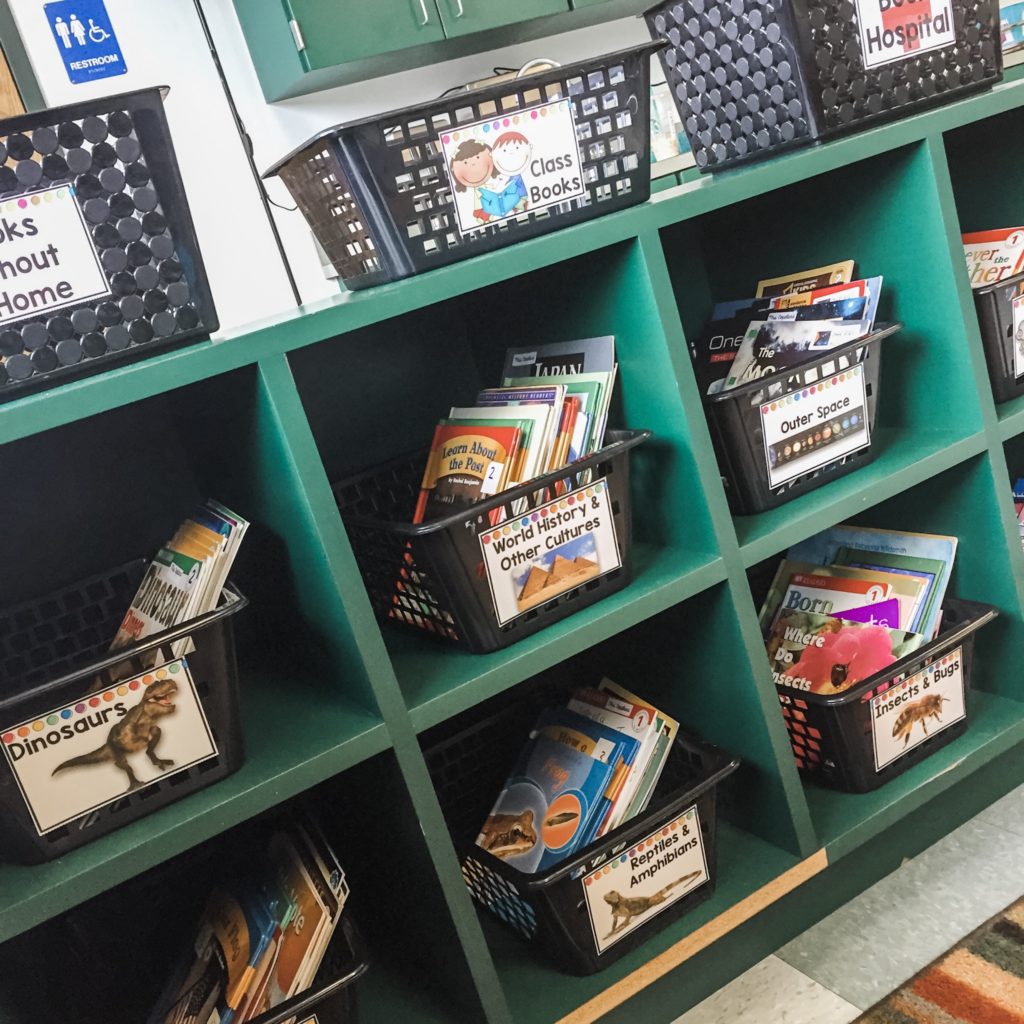
- Non-Fiction
- Informational book topics and/or themes depend on the books you have in your classroom library.
- For example, if you have lots of shark books, you might want a container specifically for sharks.
- However, if you only have two shark books, I personally wouldn’t waste the space for sharks to have it’s own special place.
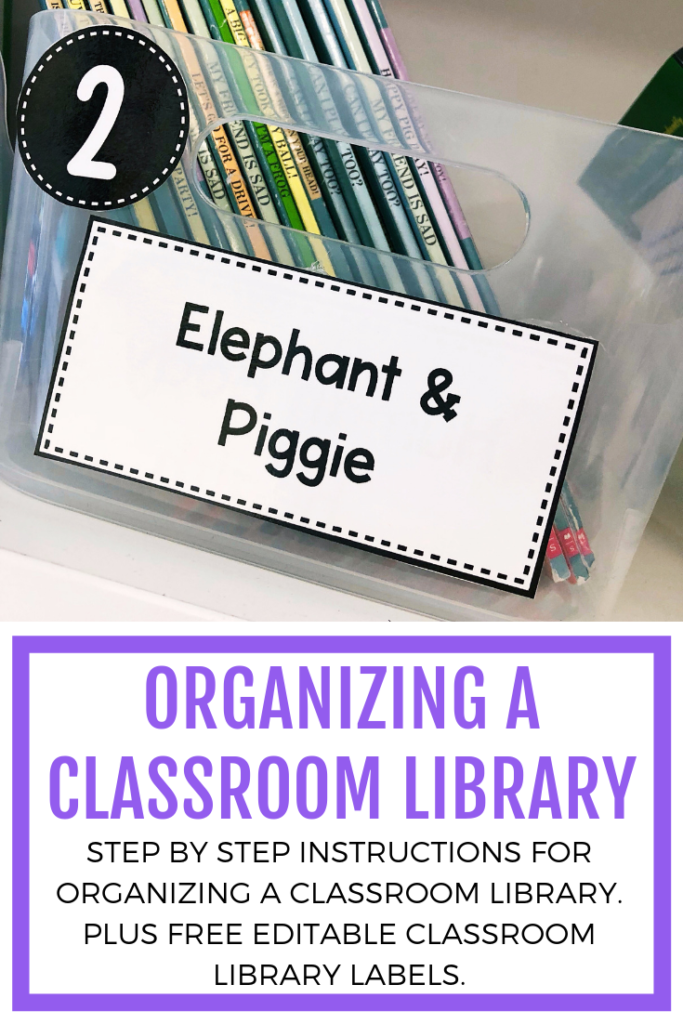
Step 3: Label it All
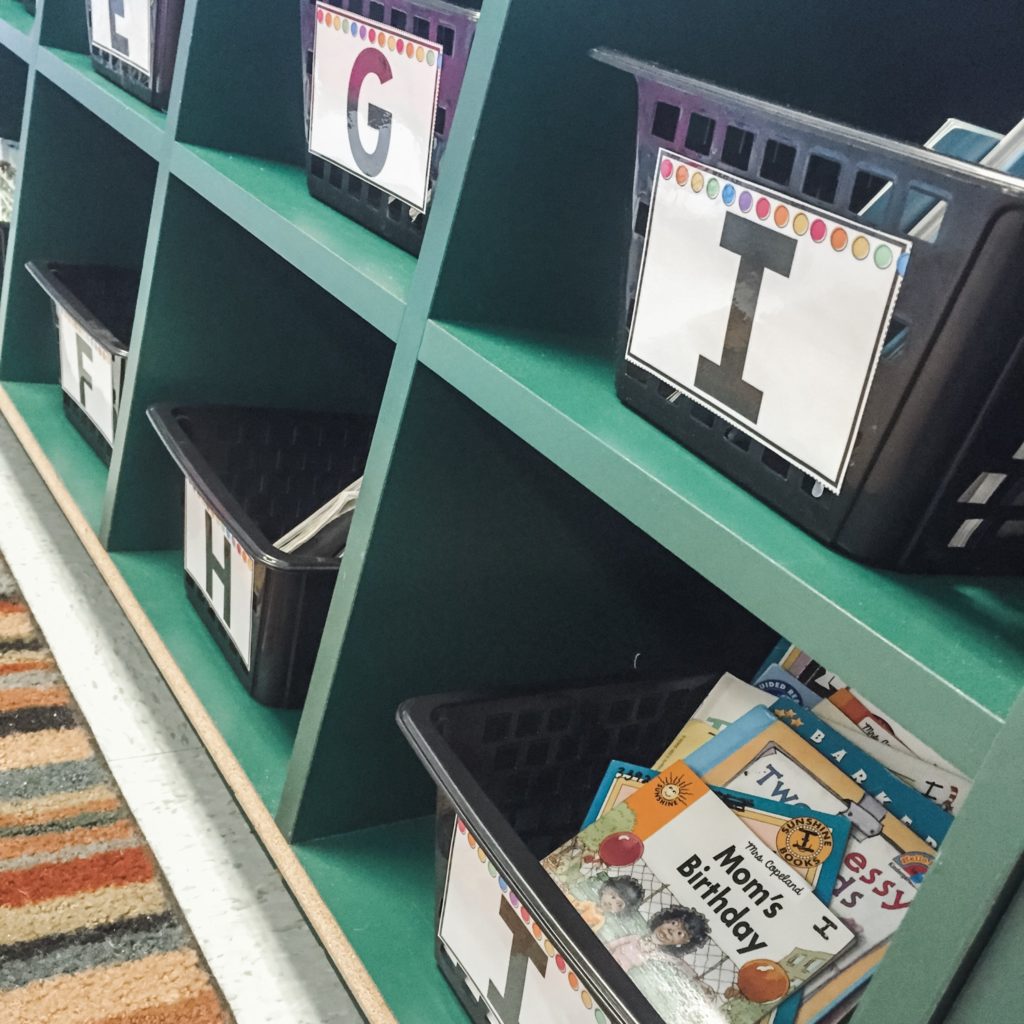
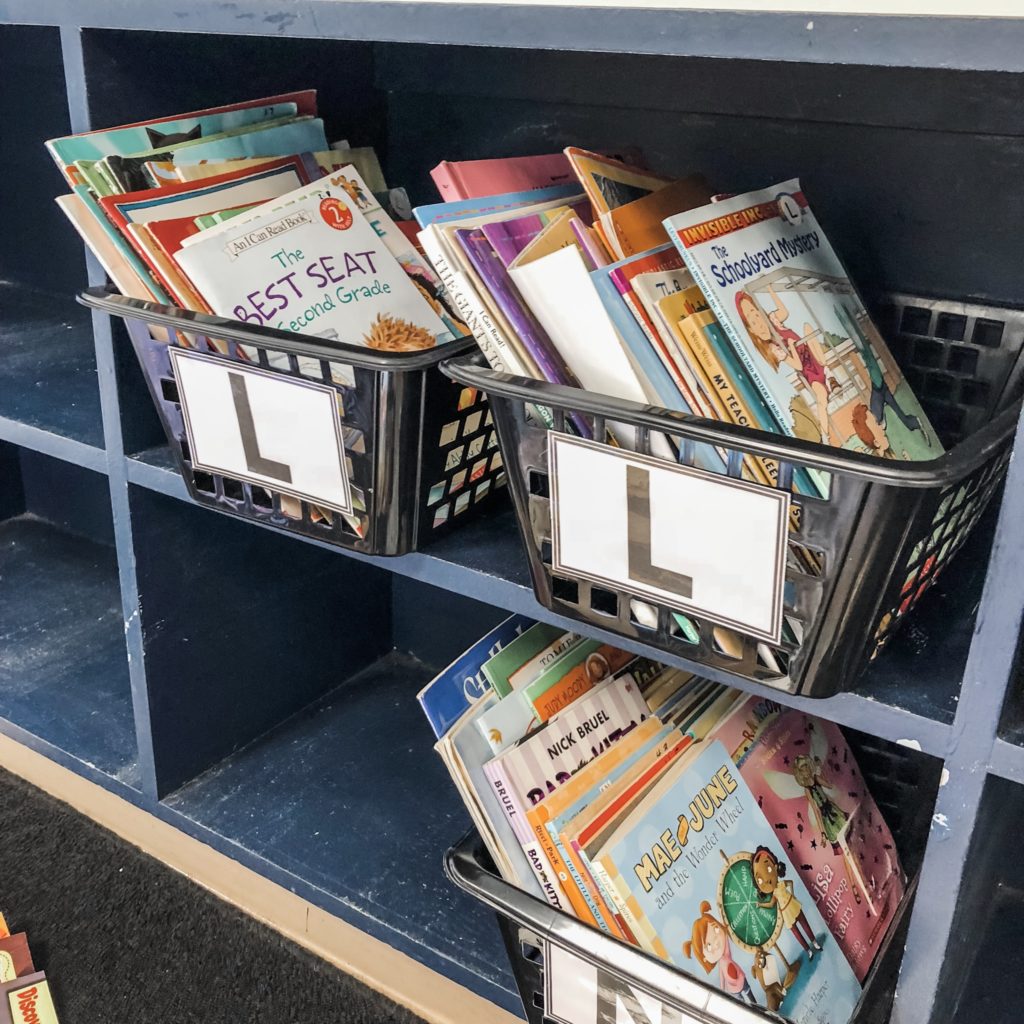
For the first 8 years of my teaching career, I labeled just the book baskets, and books that were sorted by level, and quite frankly, everything was fine.
Levels I included (just based on my experience):
- First grade had guided reading levels A – M.
- Second grade had guided reading levels E – S.
- Fourth grade had guided reading levels J – V.
Sure, the baskets got a little messy at times, but it wasn’t a huge deal.
Year 9, however, was the year everything changed.
Ok, that’s dramatic.
But, I did change things a bit.
Year 9 was the year when I completely ditched a leveled classroom library, and went completely to themes/genres/topics/authors/series — honestly, I’m sad I didn’t do it sooner.
In addition to ditching the levels, I also took organization to the next level.
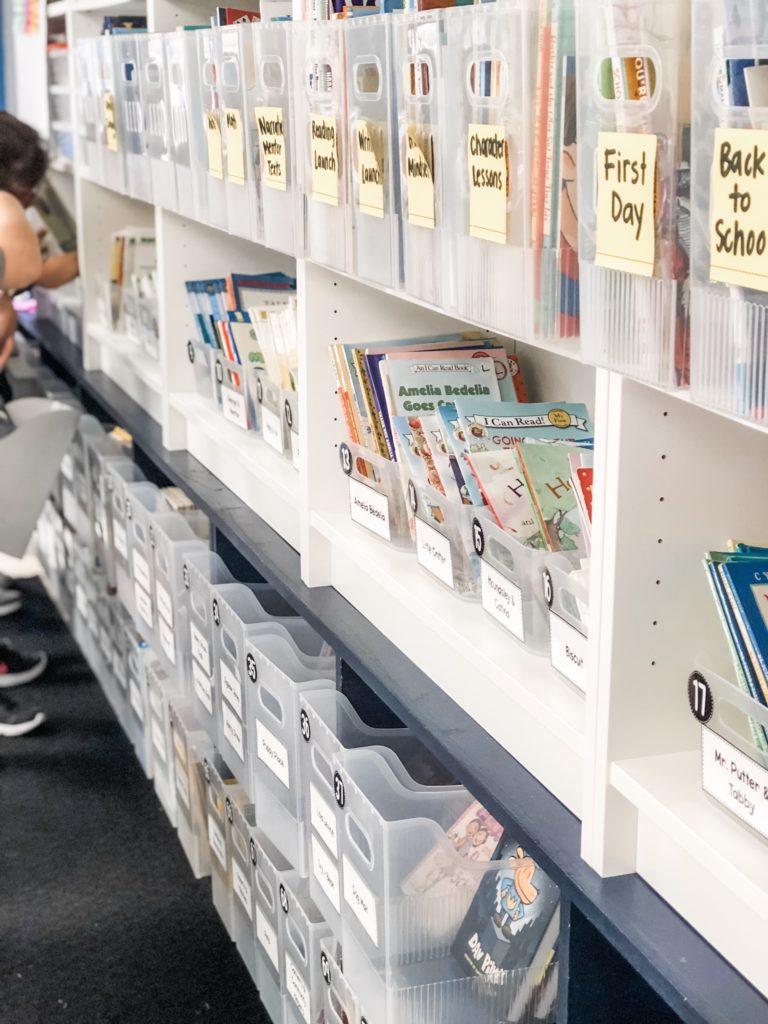
Because there weren’t leveled baskets, I knew I needed to help my students know where to put books back.
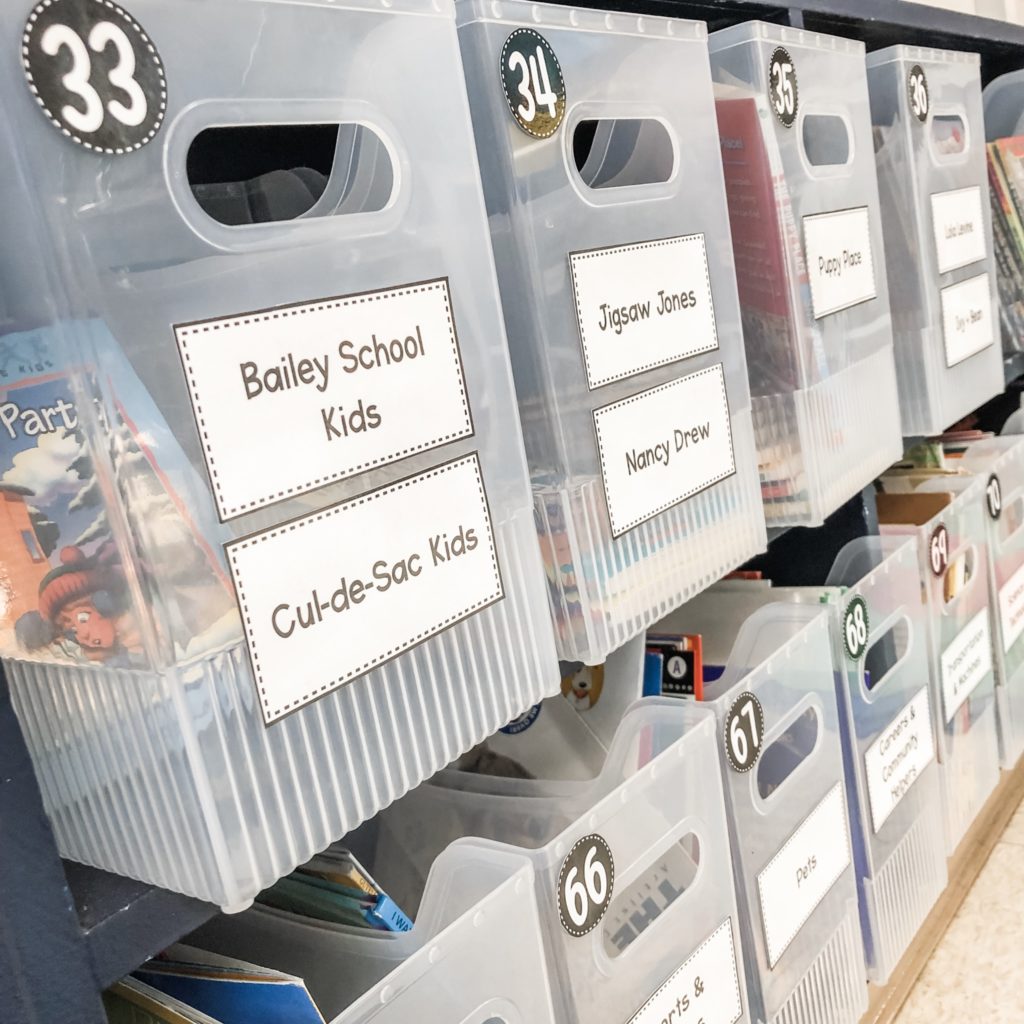
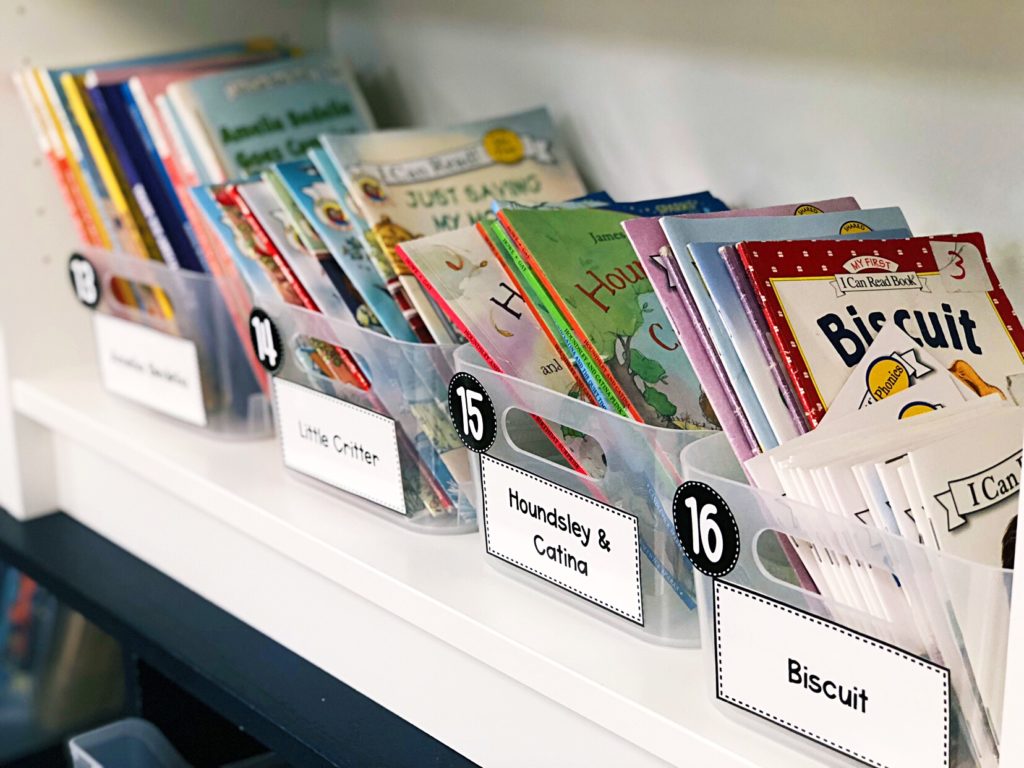
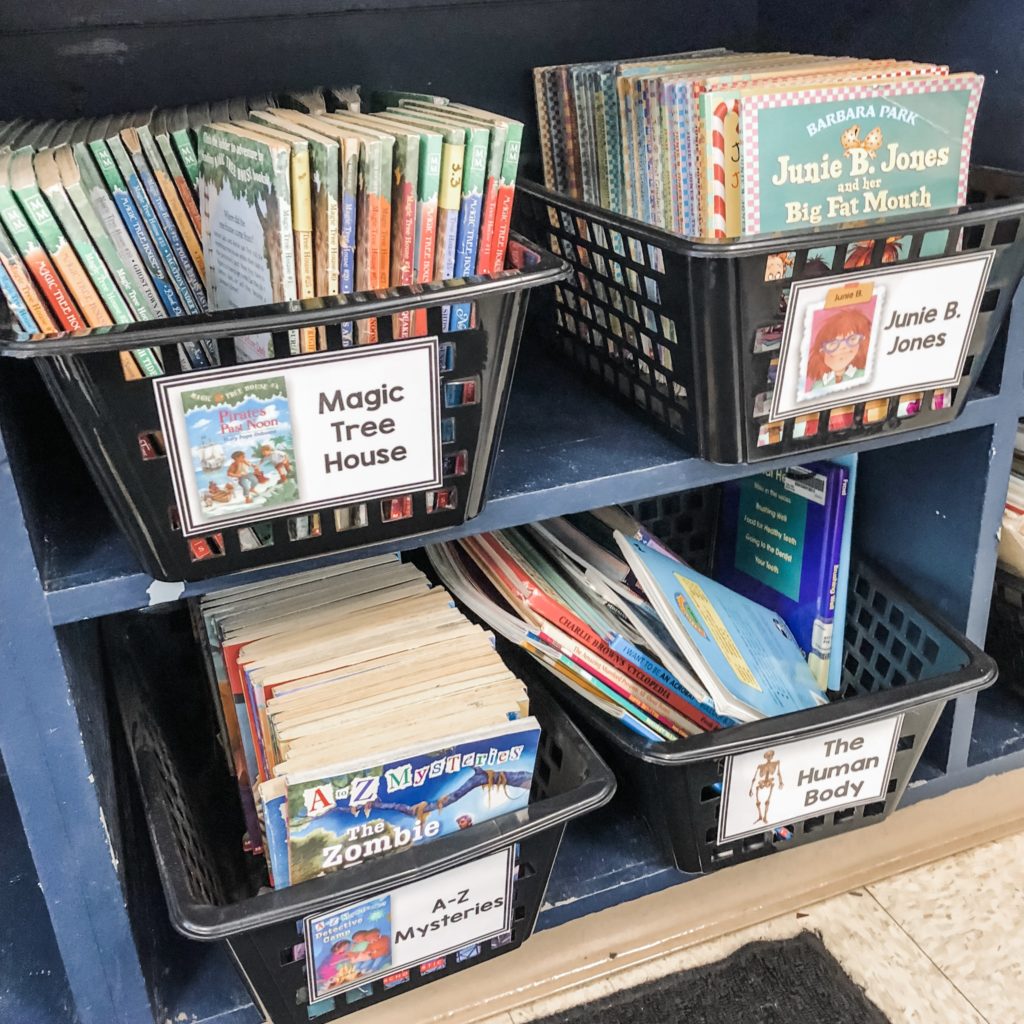
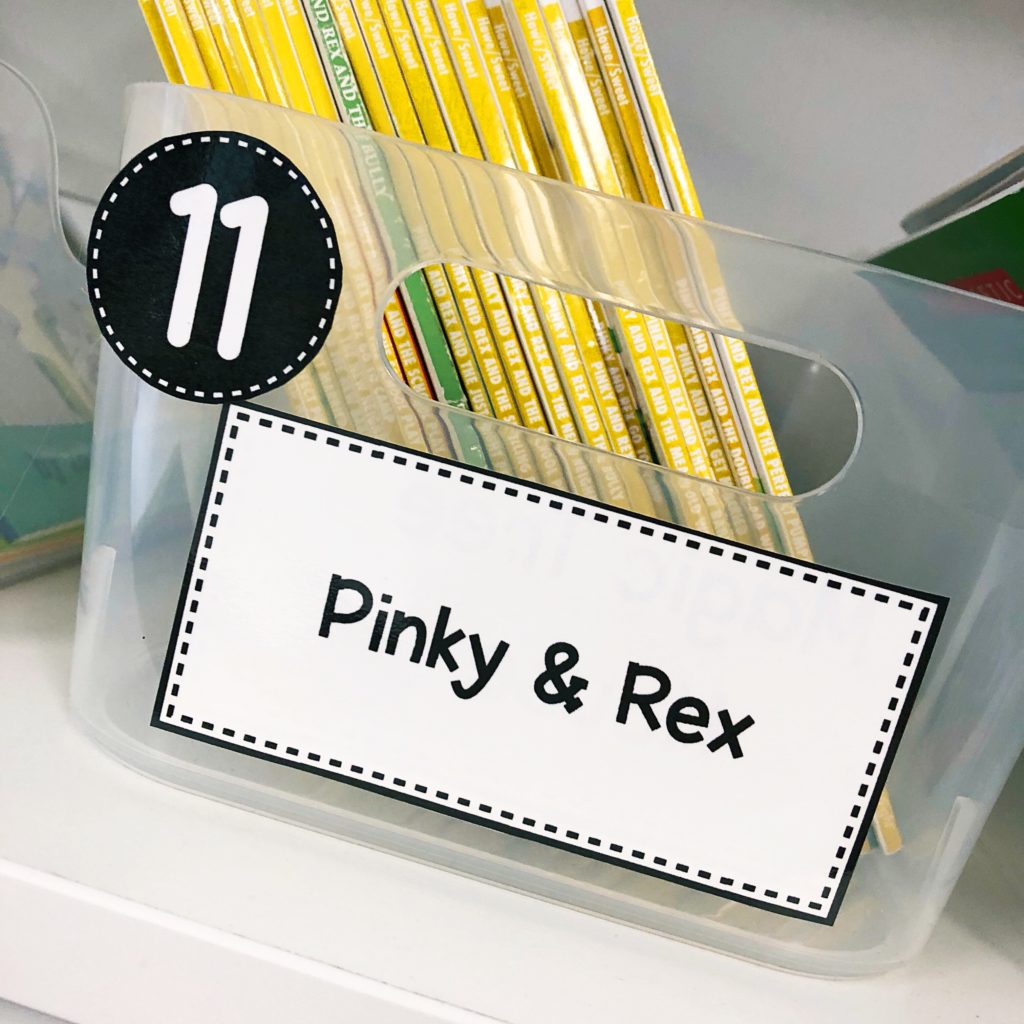
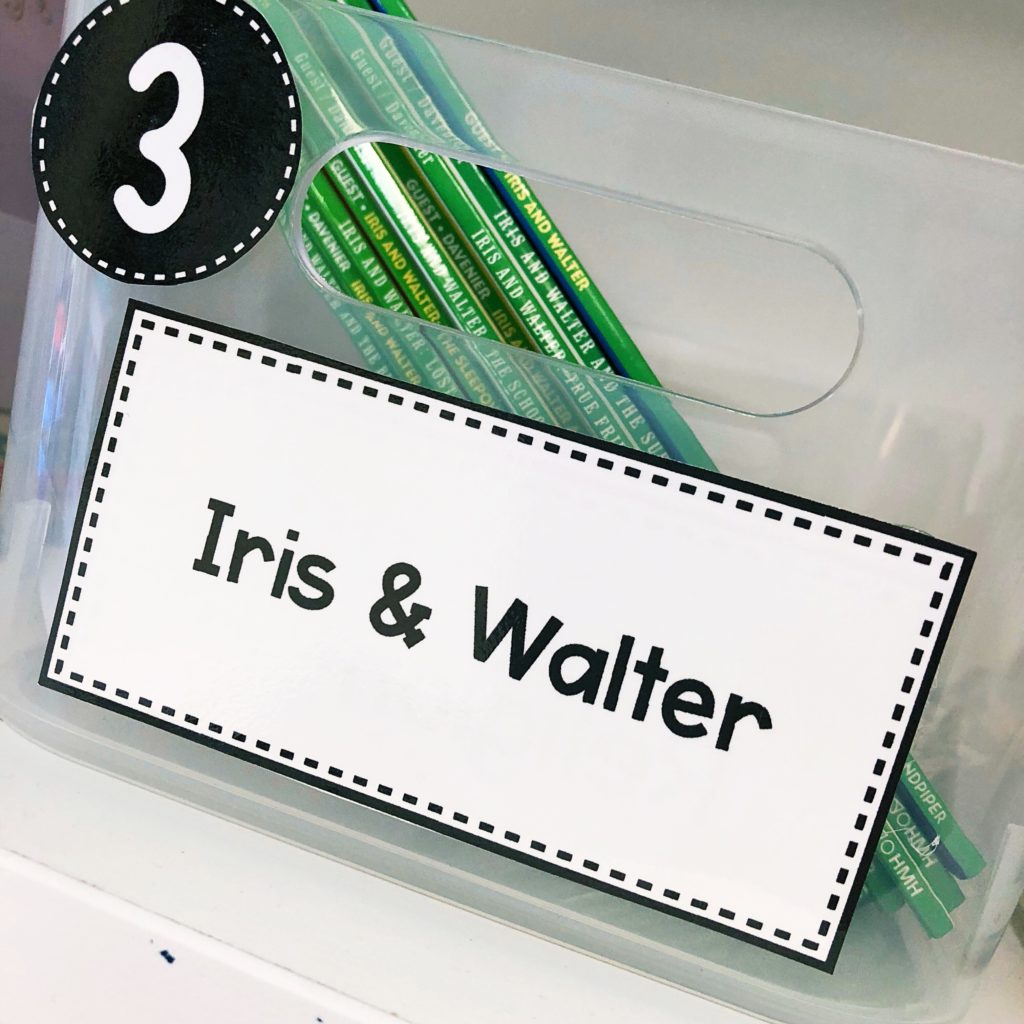
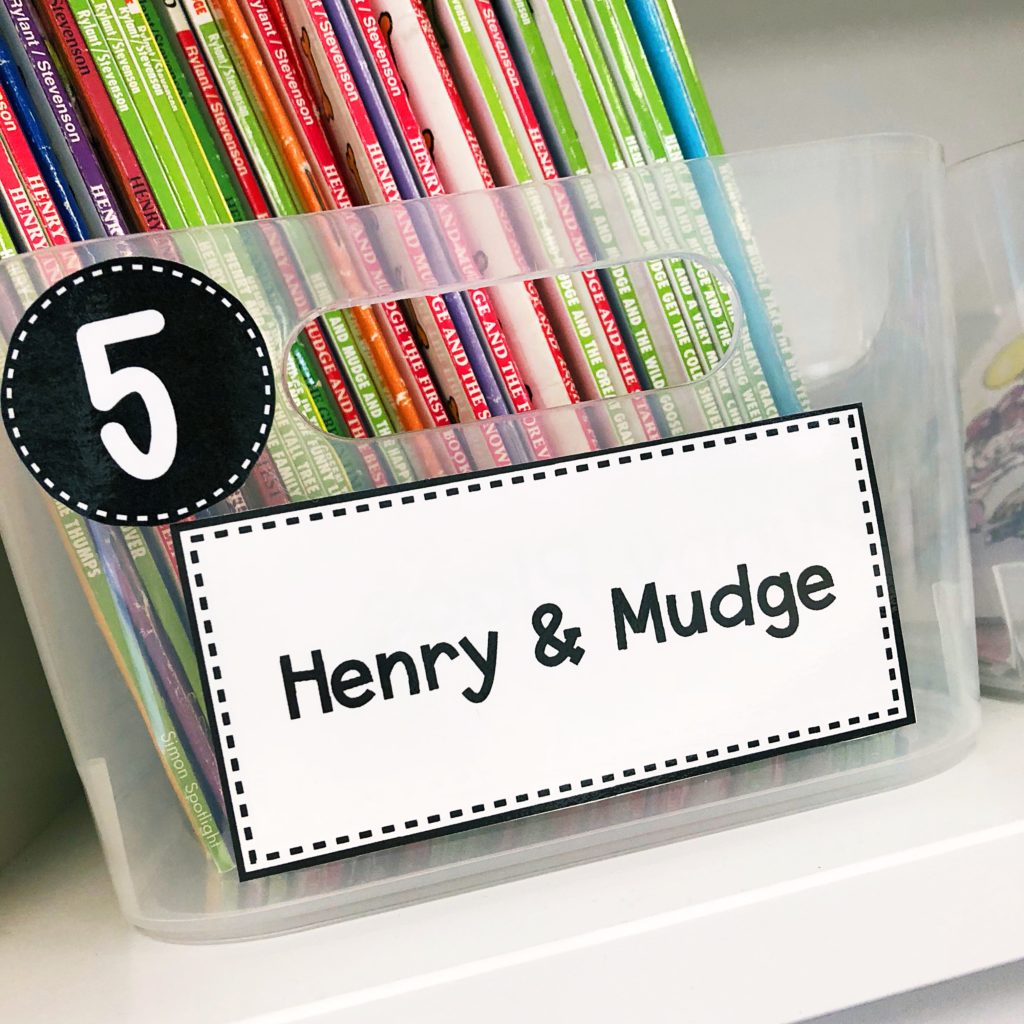
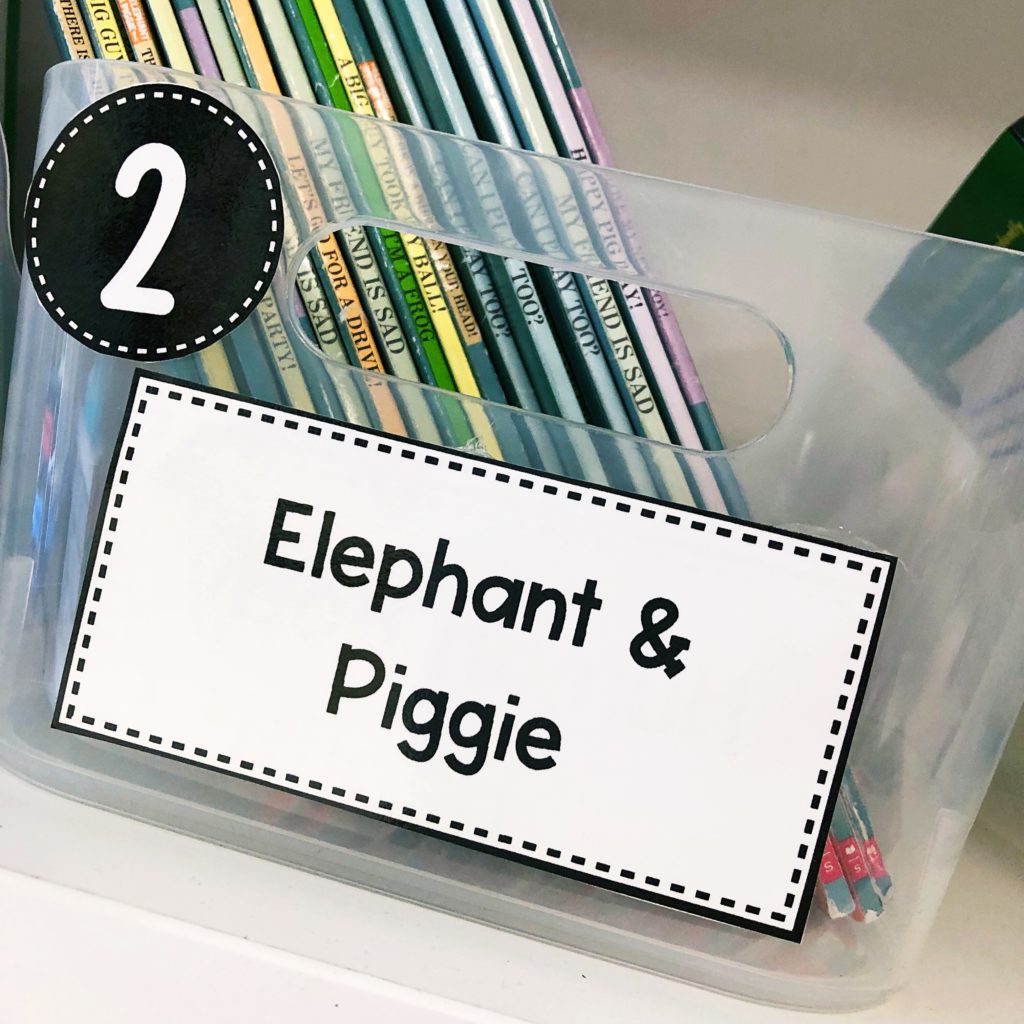
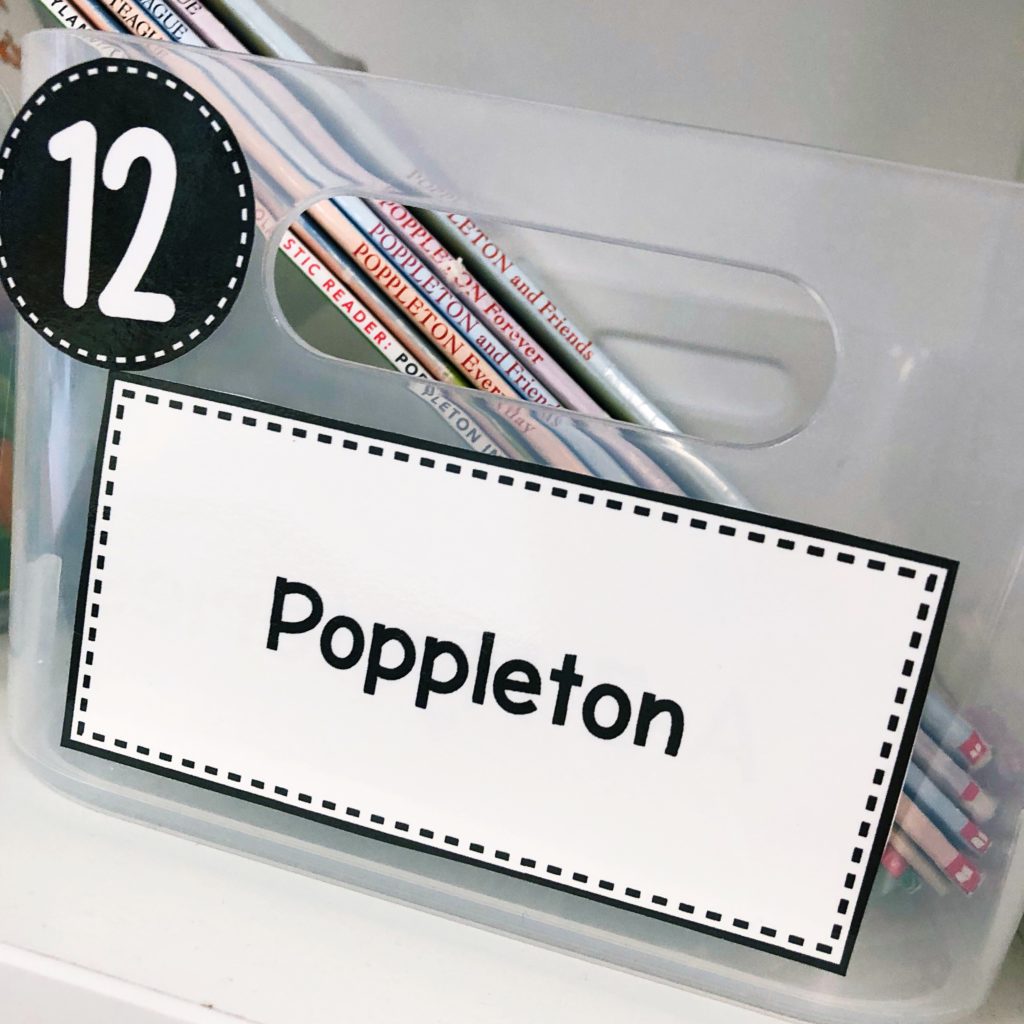
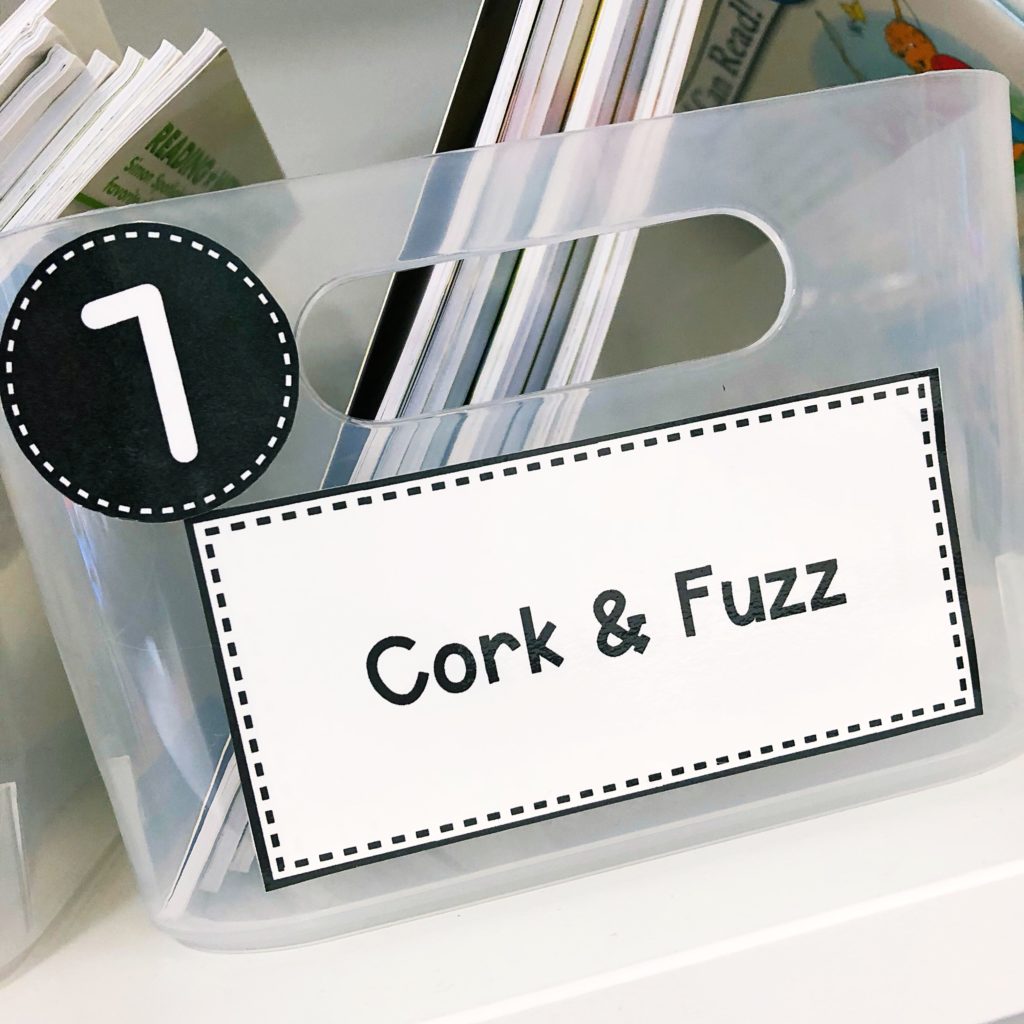
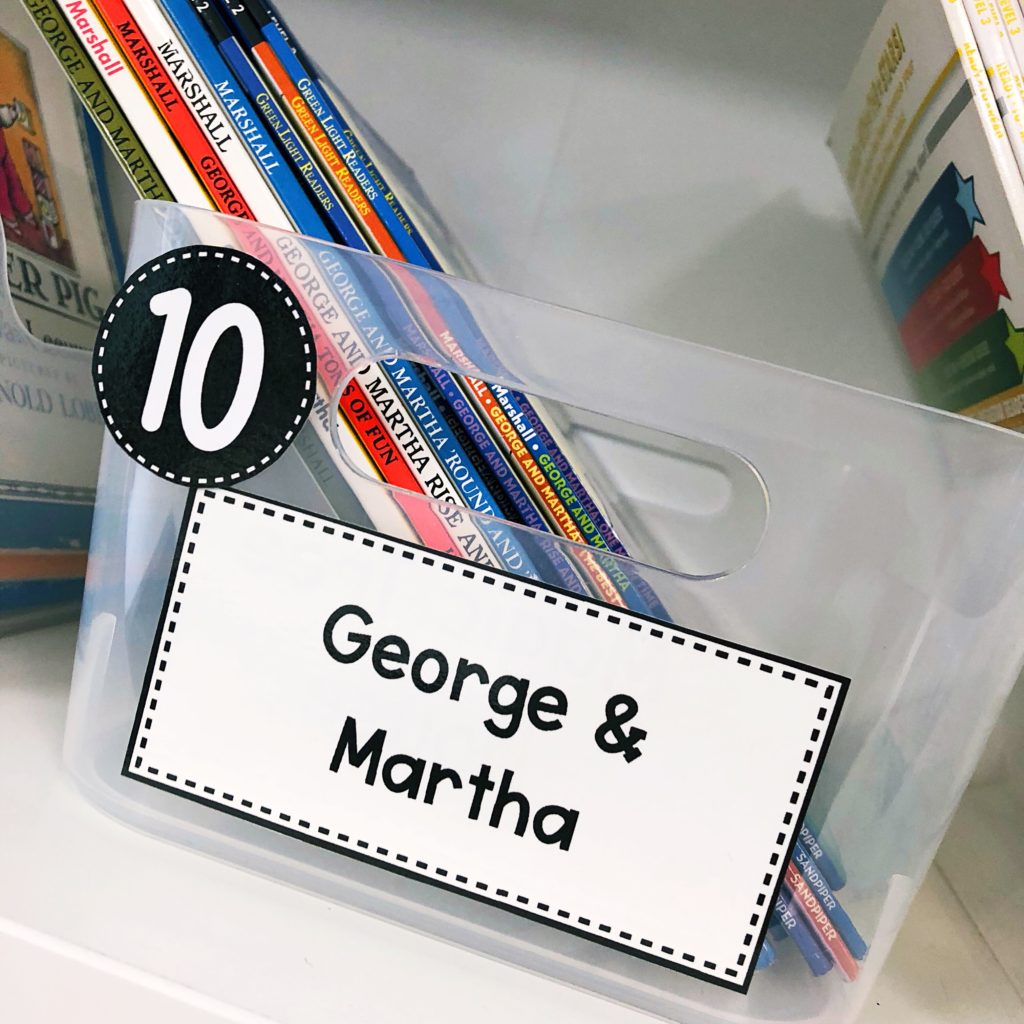
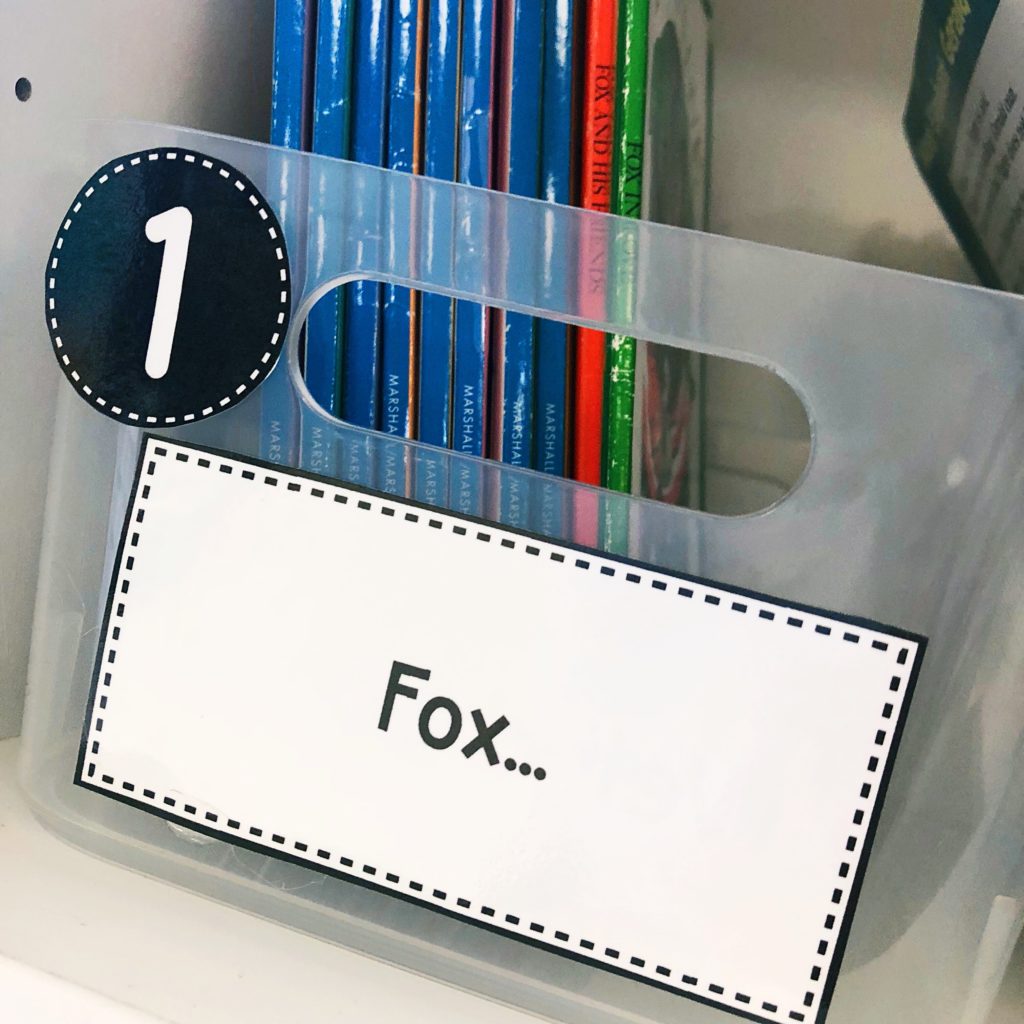
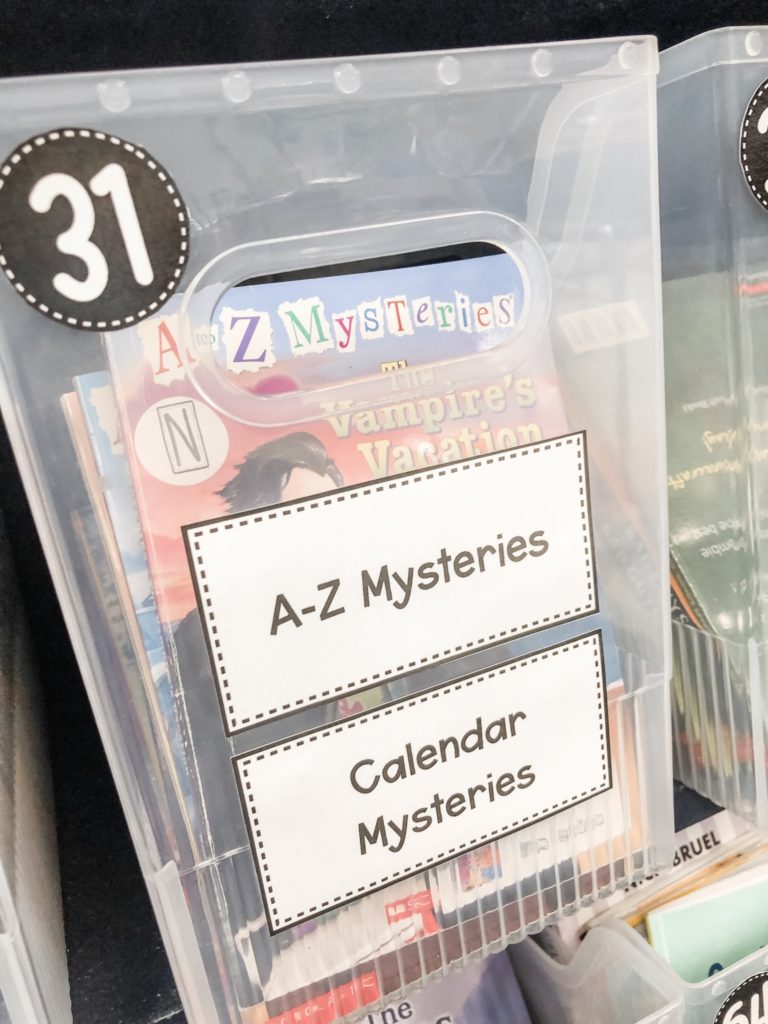
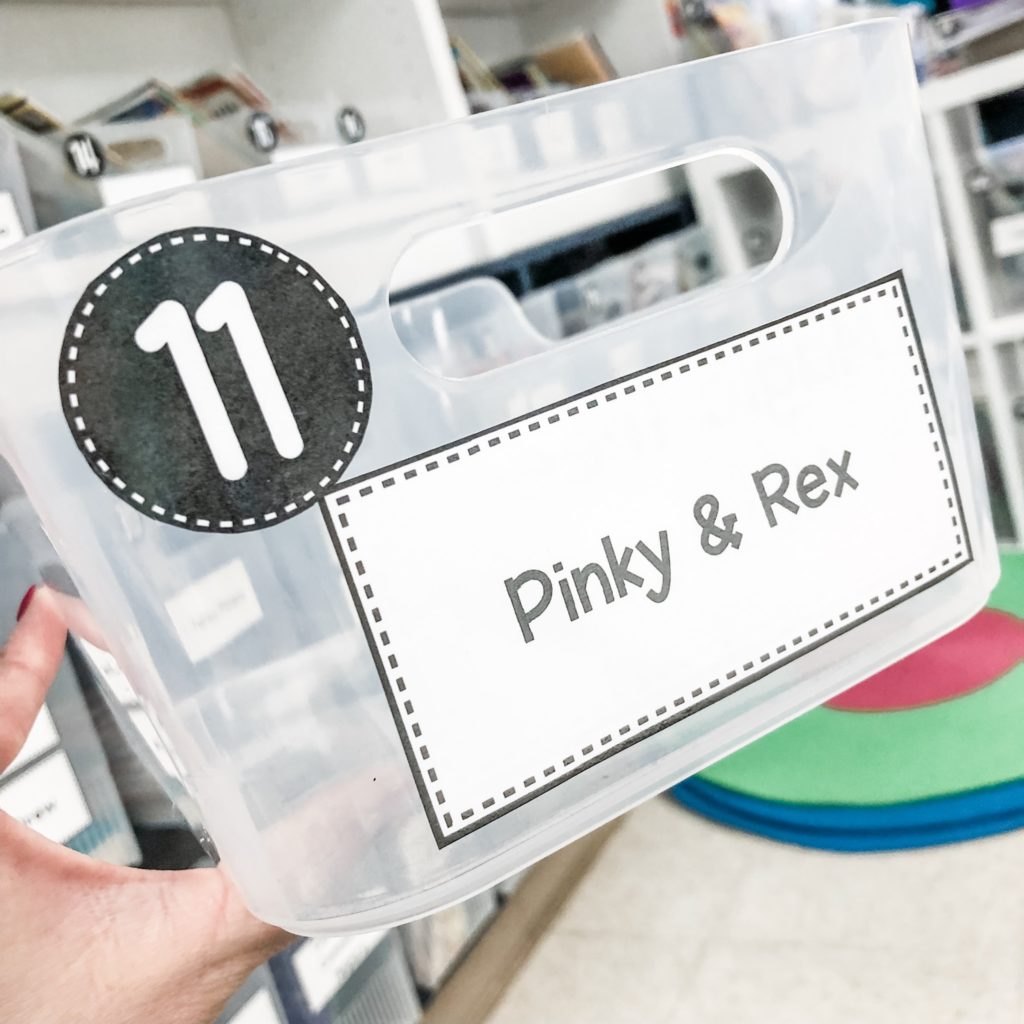
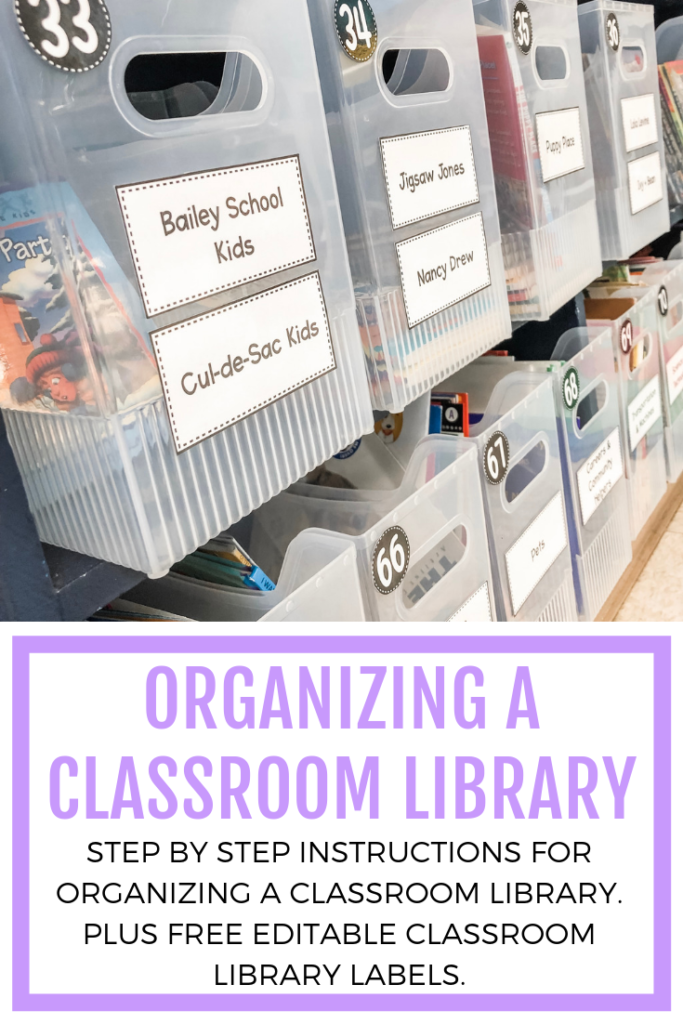
Each book basket gets a topic label, like “Dragon Masters” or “Iris and Walter” AND a coordinating number.
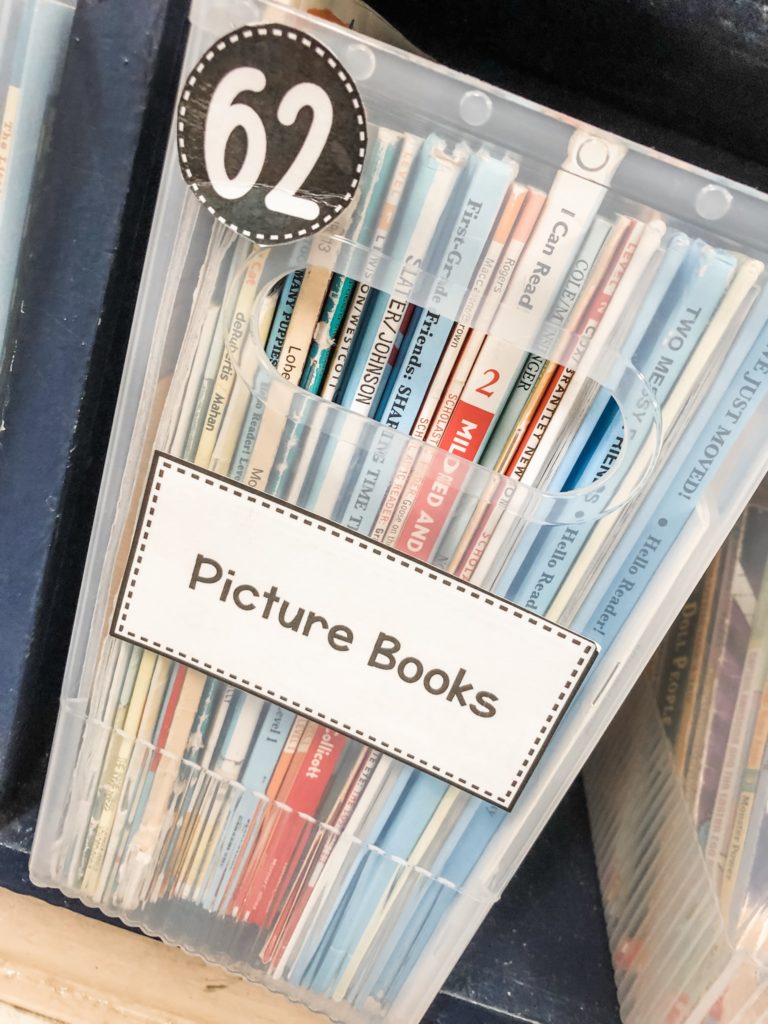
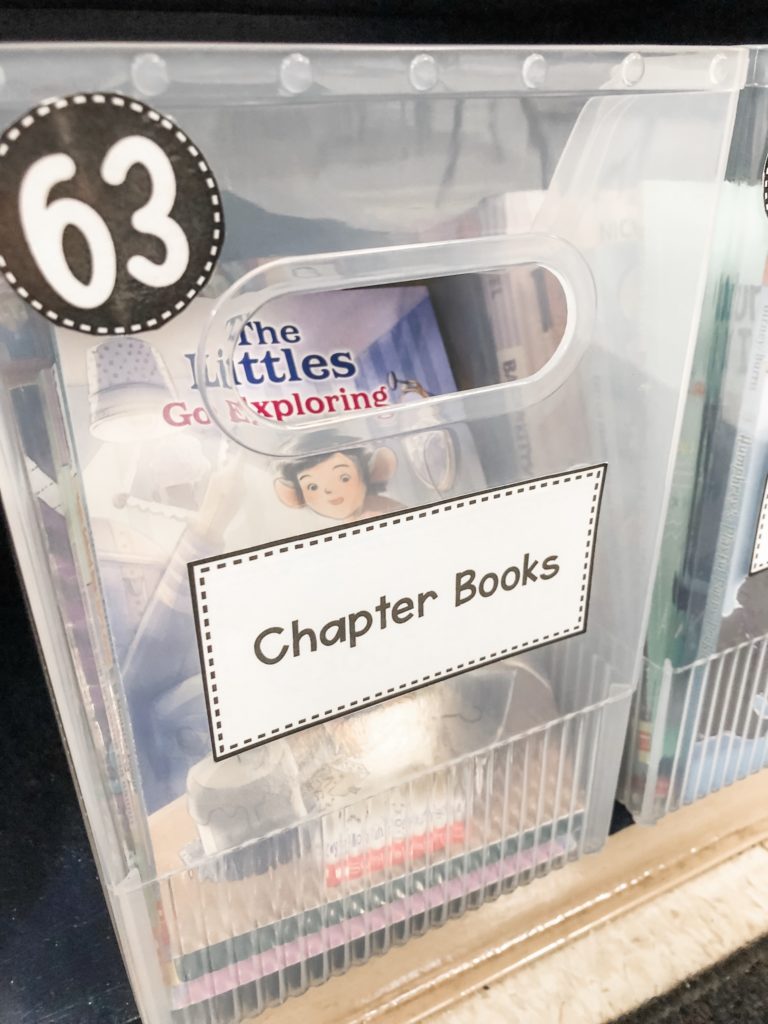
For books that don’t have a specific category or for those that I don’t have enough of the series, they just go in either a picture book basket, or chapter book basket, as seen above.
Books then get a sticker with their book basket’s number.
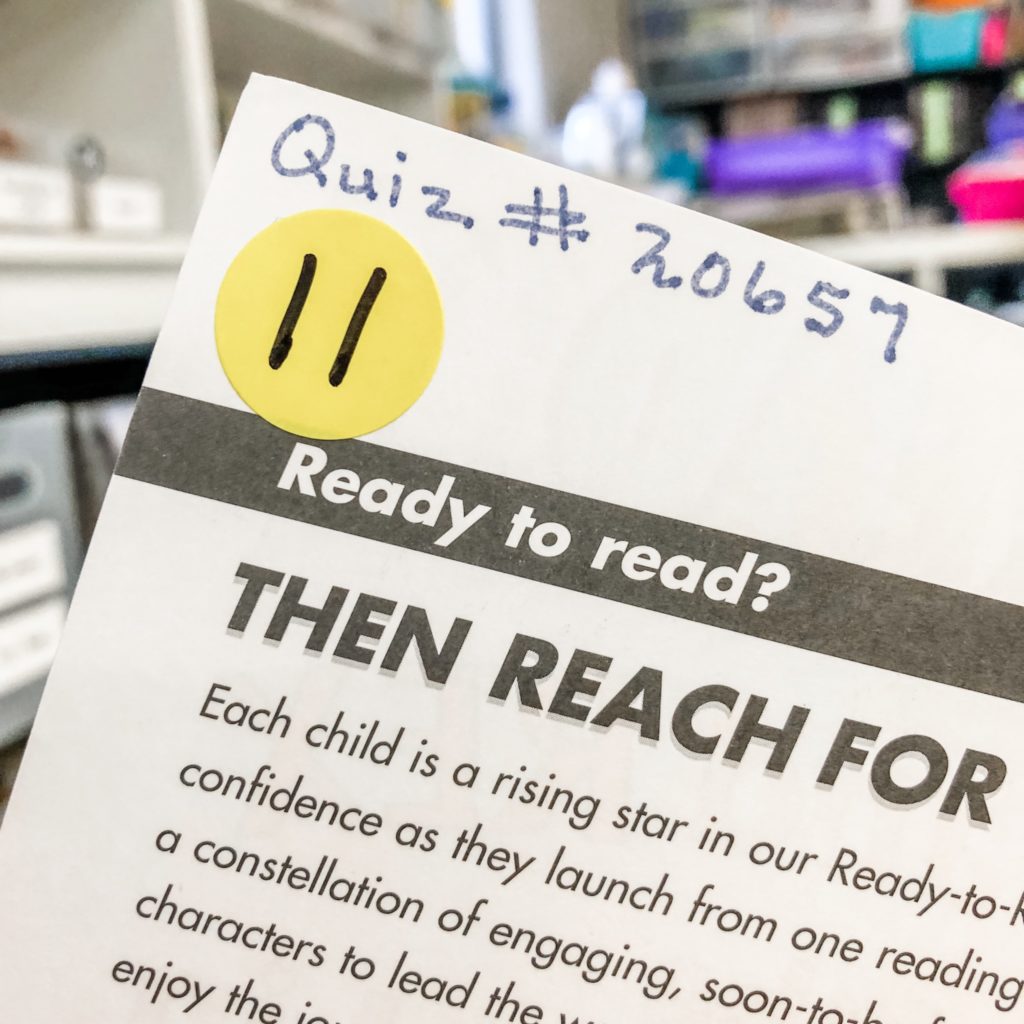
I used these stickers from Amazon that I had left over from another project.
There wasn’t a need for me to color-code the inside dots, but you could totally take it a step further and color code the stickers if you wanted to.
What Supplies Did You Use?
- Clear Plastic Storage Bins with Handles (size small)
- Multi-Purpose Bins (size medium)
- Multi-Purpose Bins (size large)
- Colored Dot Stickers
- Bin Labels (printable) – free download below
You Might Also Like:
- Positive Classroom Management
- Your Morning Meeting Questions Answered
- 15 Personal Narrative Mini Lessons
- How to Teach Students to Build Their Reading Stamina
Let’s connect!
Instagram // Pinterest // Facebook // Teachers Pay Teachers